More HTML
Elements, so far
Elements define the structure of our document.
The content of most elements is text and/or other elements.
But there’s one more thing
Elements can also have “attributes”.
Attributes are information attached to an element that may affect how it is displayed but which is not part of the element’s content.
You may have read about these in the HTML basics page.
For now
Two important attributes you need to know about are the src and alt attributes on img elements and the href attribute on a elements.
Also useful are the width and height attributes on img.
An image
<img src="kittens.png" alt="Cute kittens">The src attribute tells the browser where to find the image file.
The alt attribute describes the image. It is not required but is important for users who may be browsing your page in some way that can’t display images.
Sizing an image
<img src="kittens.png" alt="Cute kittens" width="100">By specifying one dimension (in pixels) we cause the image to be scaled.
<img
  src="kittens.png"
  alt="Cute kittens"
  width="100"
  height="150">
By specifying both dimensions we force the image to be displayed at that size. If the given dimensions are not in the same proportion as the actual image dimensions, the image will be stretched or squashed.
Hyperlinks
The key element that makes Hypertext hyper is the a element.
a stands for anchor, for whatever that’s worth, but it’s the way we can make links between web pages.
<a href="/some-other-page/">Check out this cool page!</a>The href attribute specifies the URL the browser should go to if the user clicks the link.
The content is still the content and is the thing the user will click on.
Sources of images
In an img element you can use any URL for the value of the src attribute.
<img src="https://bhs-cs.gigamonkeys.com/img/kittens.png"
     alt="Cute kittens">
But normally you will use the name of a file that is part of your website.
<img src="kittens.png" alt="Cute kittens">Getting files into your Codespace
Two use the latter you need to get an image file into your Codespace.
There are two ways.
The simple way
First find or create an image you want to use and save it to your Mac.
Then, in your Codespace right click on the public directory under projects/first-web and choose “Upload”.
Then in the file dialog that pops up, choose the image you downloaded, probably in the Downloads folder.
Advanced way
Find an image on the web that you are allowed to use and right click on the image in your browser and choose “Copy Image Address”.
Right click on public under projects/first-web and open a terminal. In that terminal type curl and paste the address you copied in the previous step followed by -O. E.g.:
curl https://bhs-cs.gigamonkeys.com/img/kittens.png -OIn either case
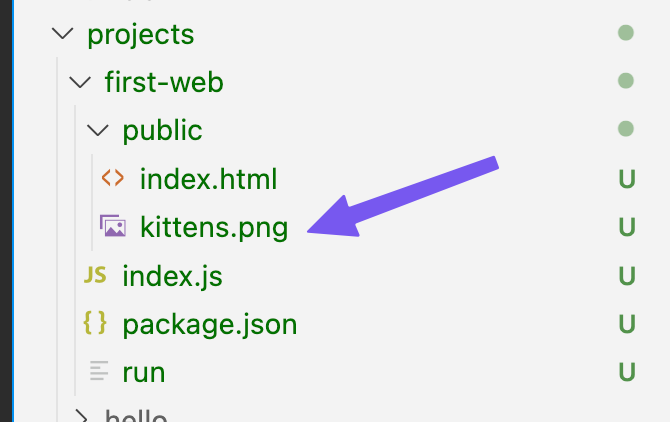
After either of those steps you should see a new file under the public directory in the file explorer.

Today
Keep working on your first-web project.
Elements to use: h1, p, a. And maybe img. And any others you find that seem interesting.
You can experiment with making a second .html file and linking to it from index.html. Or you can make links to other web sites entirely.
Make sure to commit and sync again by the end of class.